
The communication with the bootloader can be done using the STM tool called "Flash Loader Demonstrator". But there are others ways available, like command line, 3rd party tools and even python scripts! this is possible because the protocol is not proprietary, due to this, you can program your own tool if needed, for example, to update your product firmware.
The communication is done through the UART1, with the BOOT0 pin low / 0v. Just connect the microcontroller using any USB<->Serial cable converter and then open the STM tool:
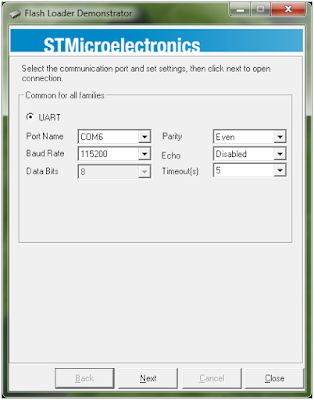
You can use the default tool settings, just choose the proper COM port of your system. And now the trick part! each time you click 'Next', the software will try communicate with the microcontroller sending a 0x7F and expecting a 0x79 in return, but if for some reason this not happen, you will see an error like this:
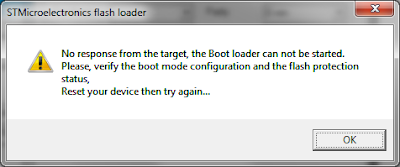
But to try again, to click 'Next' again, first you need reset your microcontroller and wait at least 3 seconds, otherwise this error won't stop. After a successful attempt you will proceed and then choose to erase the flash, upload, download firmware/hex files, protect flash from read and so on. The video below show an example, first erasing the flash and then downloading it to your computer to see the content:
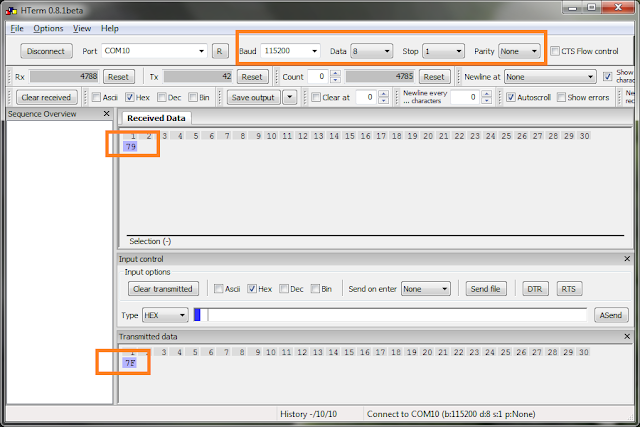
Now if you want try manually send the 0x7F and check the 0x79 response, just use some terminal software:
That's all!
About the versions
- Flash Load Demonstrator 2.6.0
- STM ARM Cortex-M3 STM32F103C8T6
- Prolific PL2303HX USB<->Serial cable


0 comentários :
Post a Comment